Before you move your plants to their permanent location, you should harden them off. That means gradually acclimating them to the outdoors. They've been protected all of their lives and if you were to just throw them outside without preparing them, they may die and all your hard work would be for naught. Your plants have had pretty constant temperatures and light and a sudden change could have drastic consequences.
Before taking them outside, check their size. If you started your seeds in a flat they are most likely ready for a bigger container. Carefully loosen them from their present home and move them to a bigger one. Now is usually a good time to add some organic fertilizer. Give them a gentle watering and let them get accustomed to their new digs for a couple days. Once you can see that they have adjusted well, it's time to start the hardening off process. To begin, I take mine out for an hour at the warmest part of the afternoon. Make sure they are sheltered from any harsh winds or rains. The next day, extend their time outdoors for an extra half an hour. Keep up this routine until the temperatures outside are ideal for your particular plant. Once the danger of frost is past, it is safe to plant them in your garden.
Saturday, March 22, 2014
Tuesday, March 11, 2014
Composting
Composting is the process in which waste is recycled into nutrient rich soil. It has been referred to as "Black Gold" because of how very valuable it is when you add it to your lawn or garden. When your garden is rich in nutrients there is no need for synthetic fertilizers. You are naturally amending the soil and that is good for the Earth and for the health of your family.
What can you compost? From your kitchen you can use leftover produce, coffee grounds, egg shells and tea bags. Fresh grass clippings from your yard are great as well. These items will provide nitrogen. When you compost these you are reusing cooking waste and reducing landfill refuse. Food left to rot in landfills produces methane, a toxic greenhouse gas. The Environmental Protection Agency states that as much as 30% of garbage taken to landfills could be composted.
You also will want to add "brown" waste to your compost pile. This includes paper, cardboard, straw, leaves and small twigs. These provide carbon, which is essential in the breaking down of all the ingredients into the humus you want. Basically, you want a ratio of 3 parts brown to 1 part green.
You'll need to choose something to keep your kitchen waste in until you can get it outside. You can use an empty coffee tin or any container with a lid. Another alternative is to purchase a bin that is designed to hold your compost. I have one that is so cute, it sits on my counter right beside my stand mixer! It comes with a carbon air filter that absorbs odors. I bought mine from World Market.
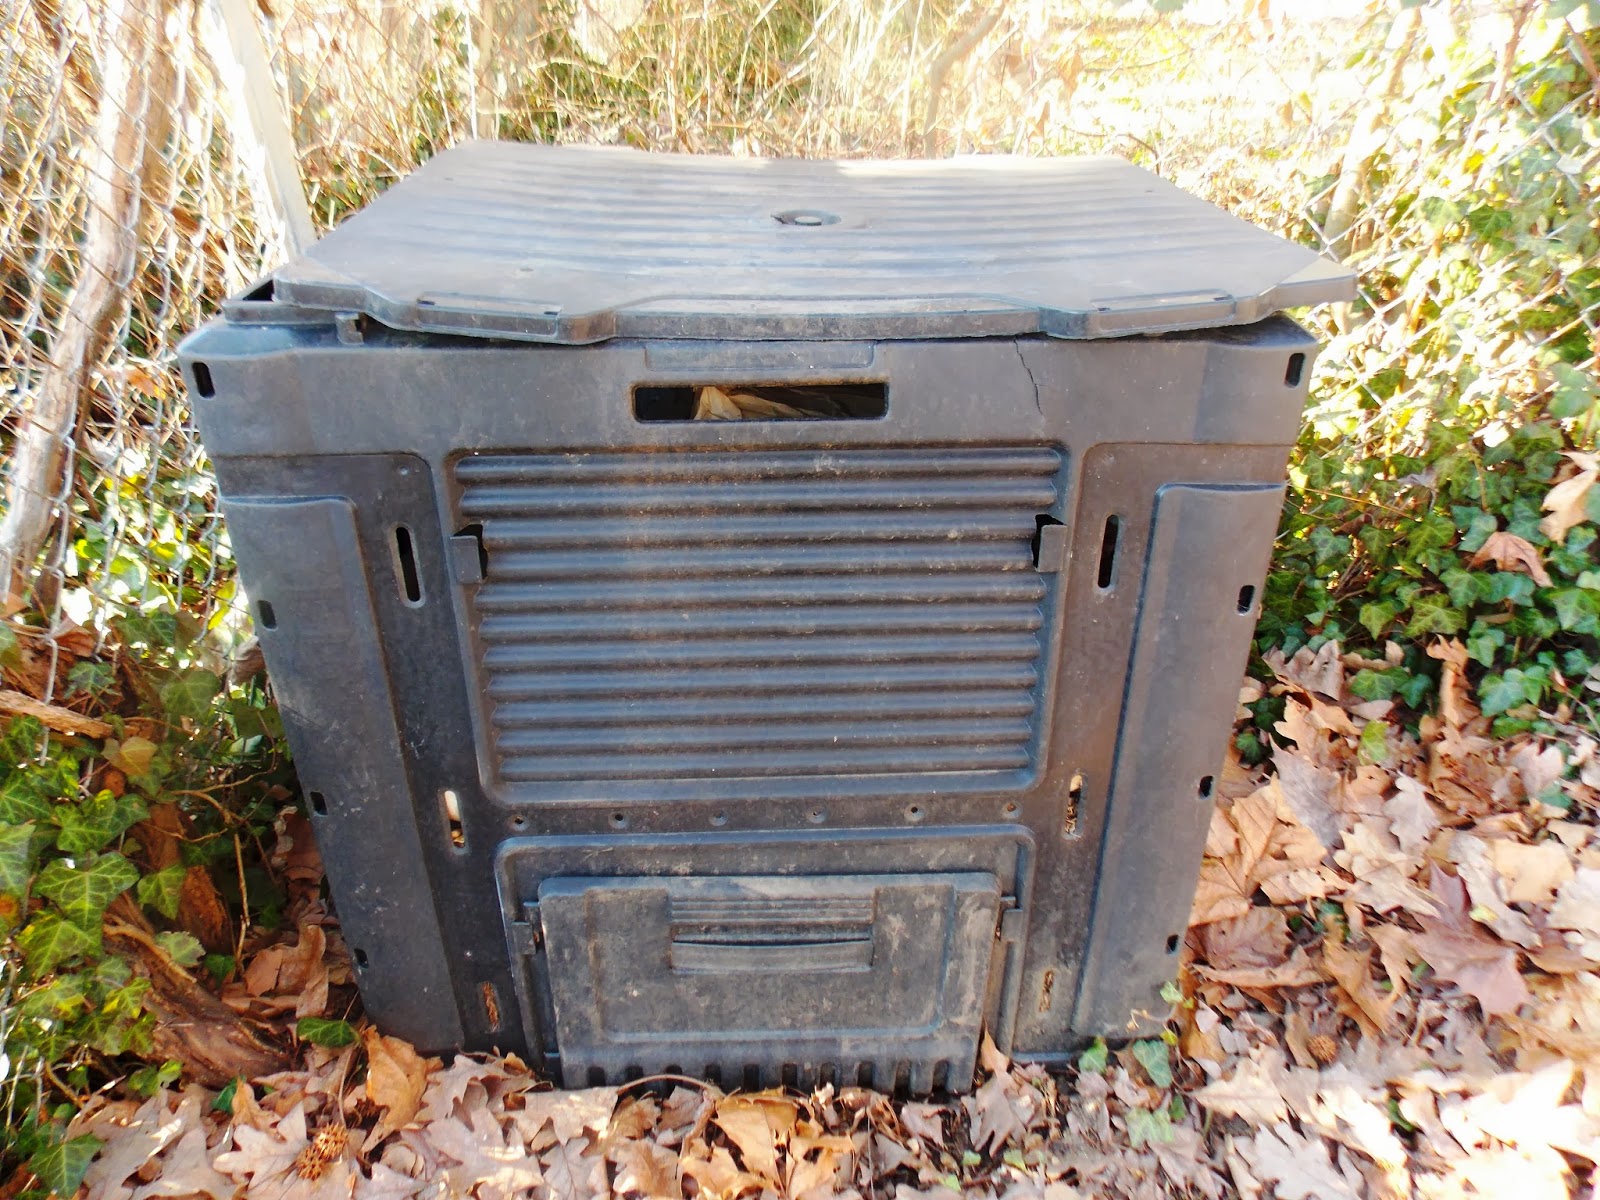
You'll also to have choose a method of containing your compost outside. It's best if it is enclosed but it is possible to just have a pile in your yard. You can get one ready made at Home Depot like I did or your can build one yourself out of wood.
To have a successful compost pile you must do several things. Place small twigs on the bottom of your heap to provide drainage and air circulation. Alternate layers of "green" (waste that provides nitrogen) and "brown" (waste that provides carbon). Water the mix and cover. You'll want to keep it moist and you will need to turn the mixture every so often to aid in the breakdown of the materials. The smaller the pieces are, the faster they will decompose. It's ready when it's dark in color and there are no chunks of the materials you added. Be patient and keep at it! It takes time to produce your black gold but in the end you will be rewarded with a rich soil amendment that will give you an abundant garden.
Tuesday, March 4, 2014
Seedling Care
So you've planted your seeds indoors and put them in a warm place to germinate. You check the water level every day to make sure the soil does not dry out. One morning you take a peek and there they are! Your precious seedlings have sprouted. Congratulations! Now is the time to rejoice. You've successfully completed step one on your journey to growing a bountiful garden.
Next, you need to provide your little babies with sunlight. You can place them in a south facing window or put them under fluorescent lights. Whichever you choose, make sure your sprouts are growing up straight. If they start to lean to one side, move the container around so that light is equally distributed around the plants. Sometimes I'll even move them to the back of my car if it's a really bright day. The greenhouse effect inside your vehicle gives them tons of toasty light.
Continue to monitor the water level carefully. You never want the soil to dry out but you also want to make sure you don't over water. Both are detrimental to your young plants! Watering from the bottom is a safe method to make sure they're getting the right amount of moisture. Place your containers on a tray or baking sheet and pour water into the bottom. Your plants will soak up what they need through the holes in the bottom of their containers.
Following these steps each day will help your seedlings develop and mature into hardy plants that will soon be ready for the outdoors.
Subscribe to:
Comments (Atom)


